


A Payment Icon helps build customer trust by displaying accepted payment methods at checkout. It reassures shoppers about available payment options, improving checkout confidence and reducing abandonment.
Steps to Set Up Payment Icons
- Open the Blockify: Checkout Rules & COD app and navigate to the Checkout Component tab.
- Click Create Component and select Payment Icon.

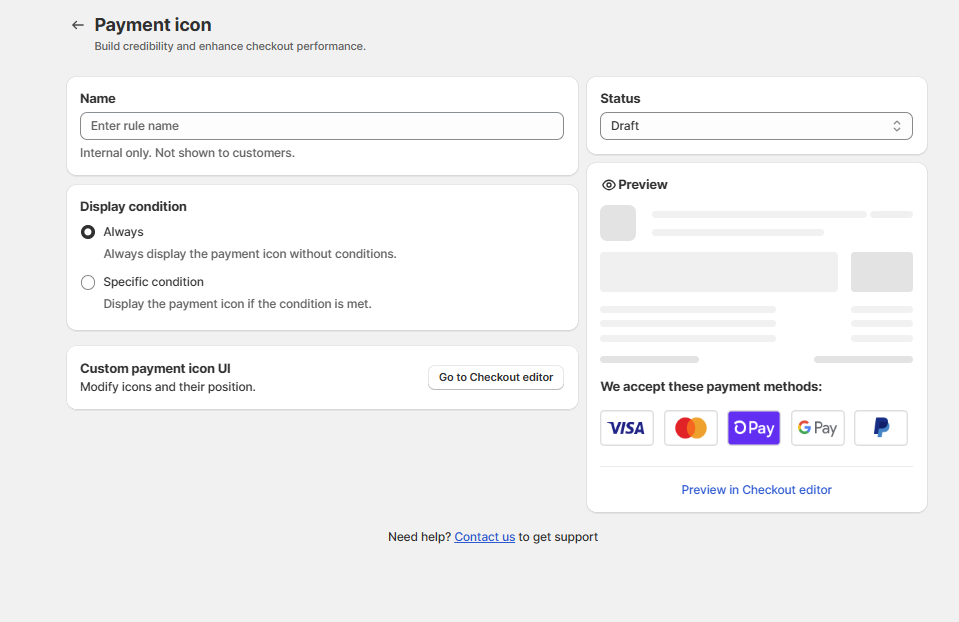
3. Set a name for internal reference.
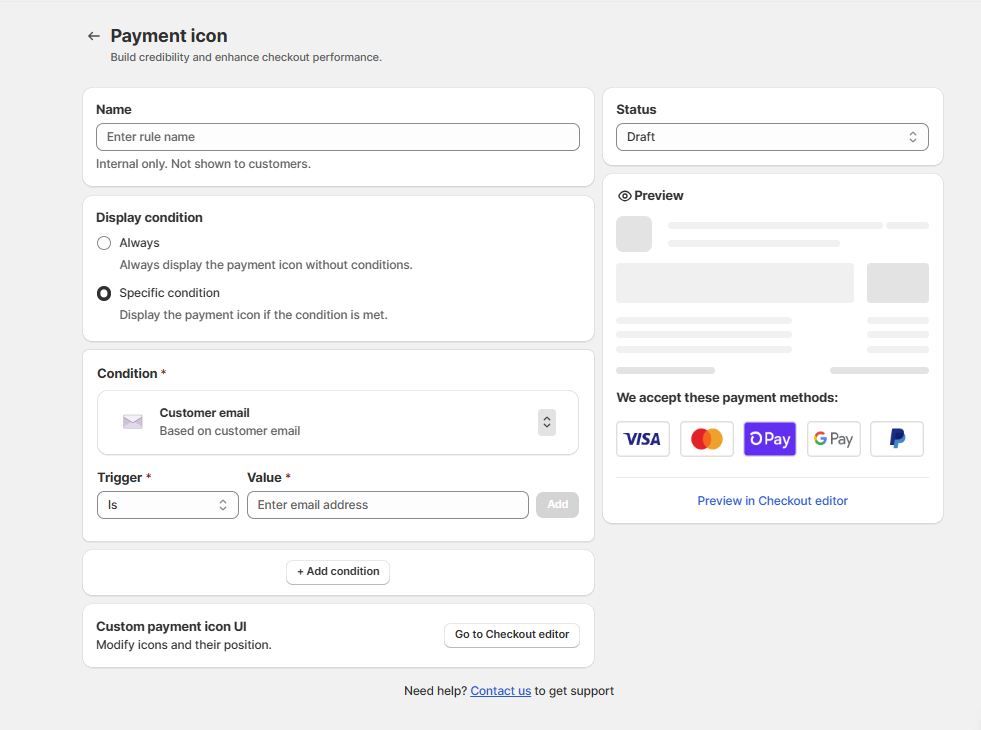
4. Choose when the payment icons should be displayed:
- Specific Condition: Display only when certain conditions are met (e.g., cart value, shipping method, customer tags).
- Always: Show without conditions.
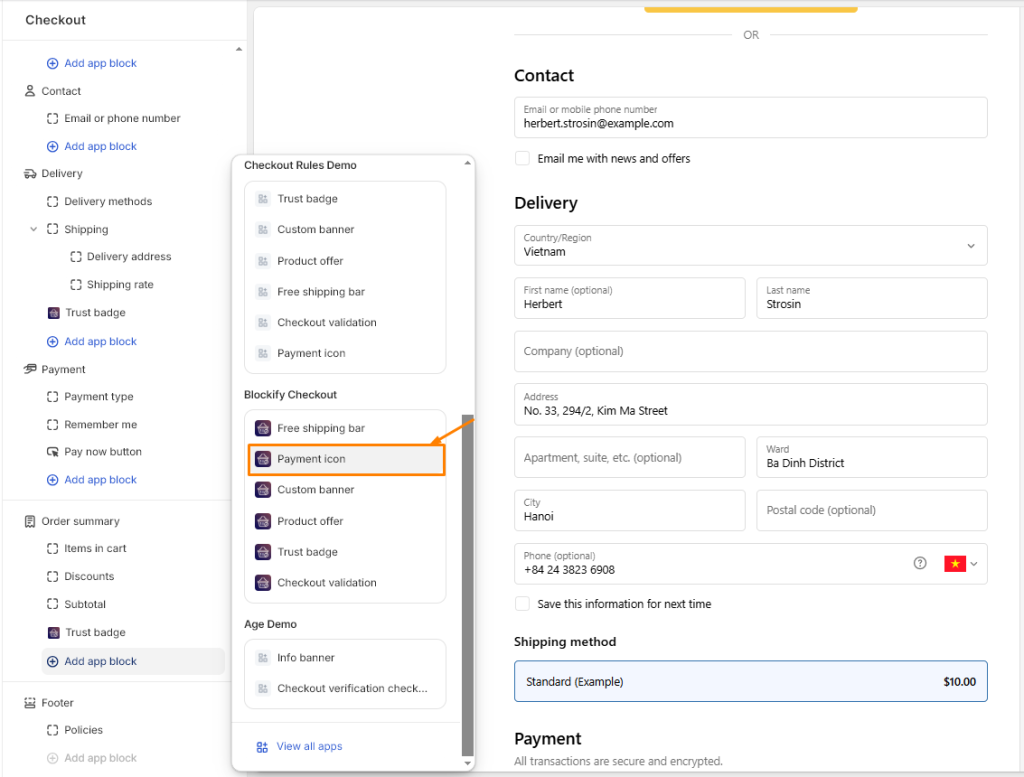
5. Click Save Condition, then select Go to Checkout Editor to customize the payment icons’ appearance.
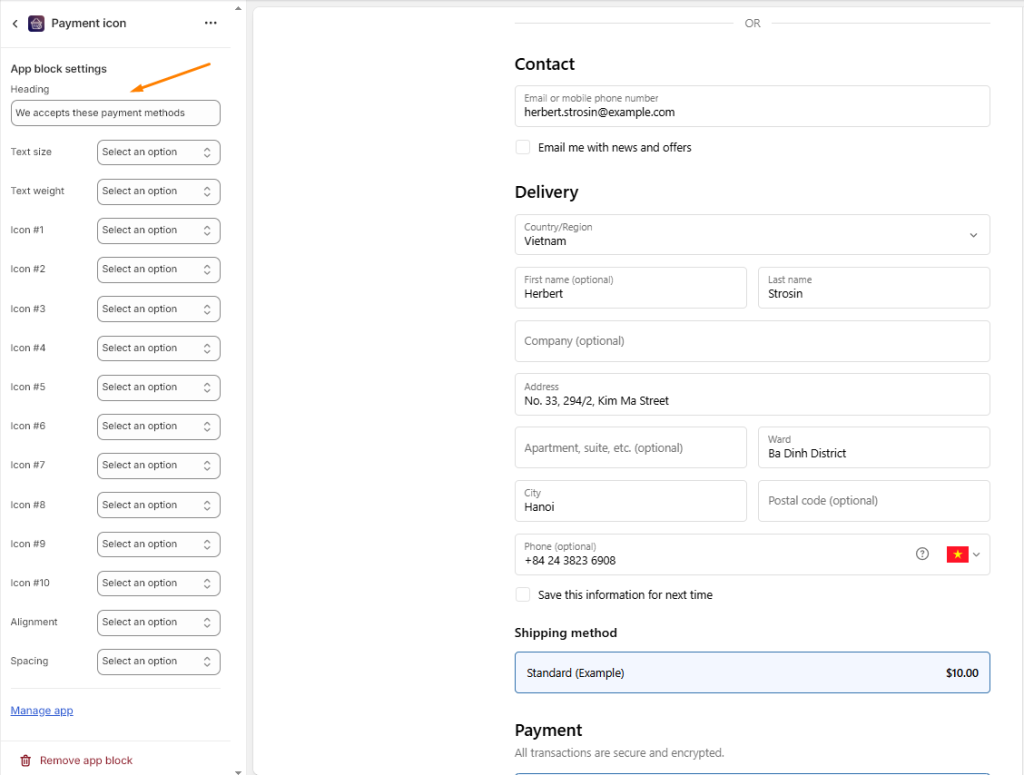
6. Add the Payment Icon block, then style and customize the text as needed.
Step 8: Save and Publish
Once you are satisfied with the design, click Save and publish your changes. Your checkout will now display trusted payment icons, improving customer confidence and increasing conversions. 🚀