


The Translation feature allows you to customize text, labels, and buttons in multiple languages to meet your shop’s language requirements.
Step 1: Access the Translation Feature
- Translation Tab: Select the Translation tab in the app menu.
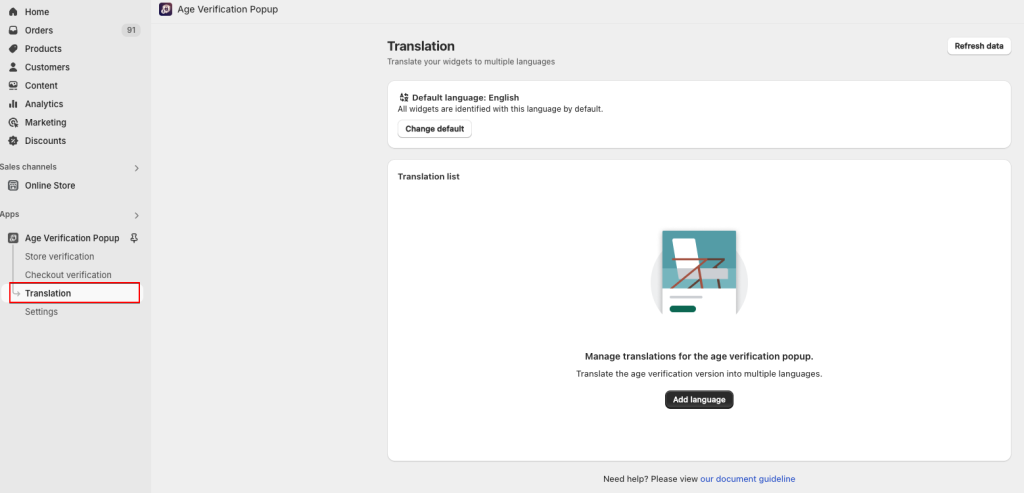
- Add Language: Click on the Add language button to start creating translations.
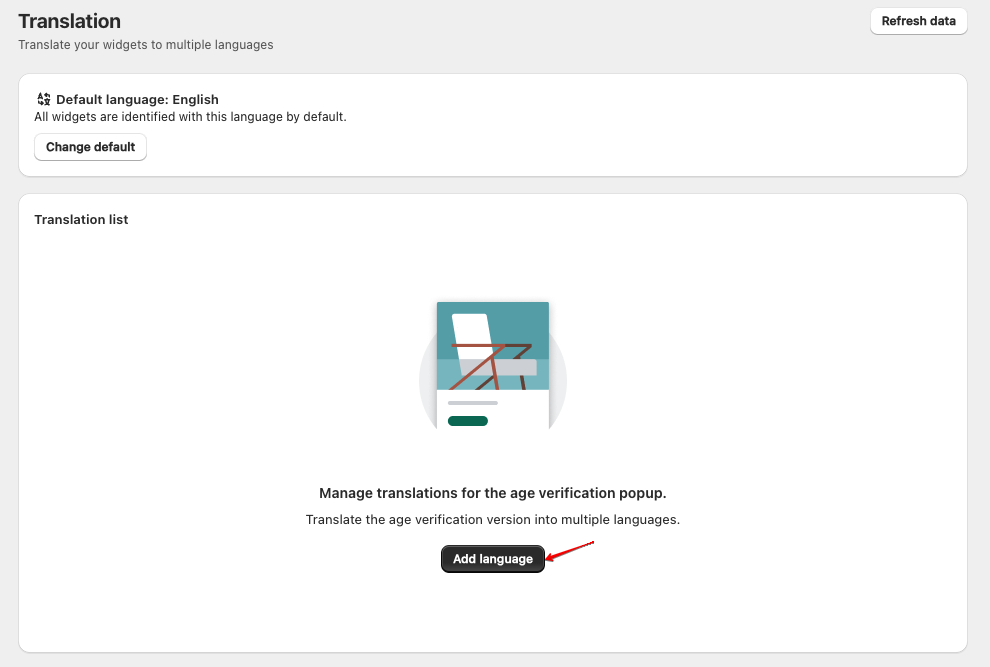
Step 2: Add a new language
- After clicking Add language, a pop-up window will appear.
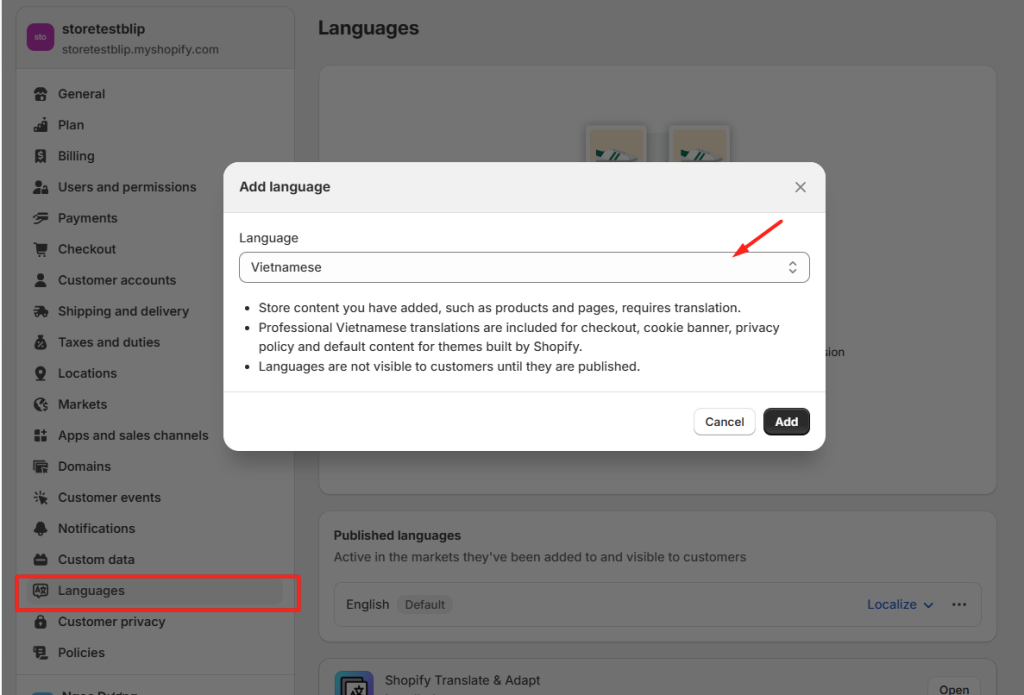
- Select Language:
- Use the dropdown menu to choose the language you want to add (e.g., Vietnamese).
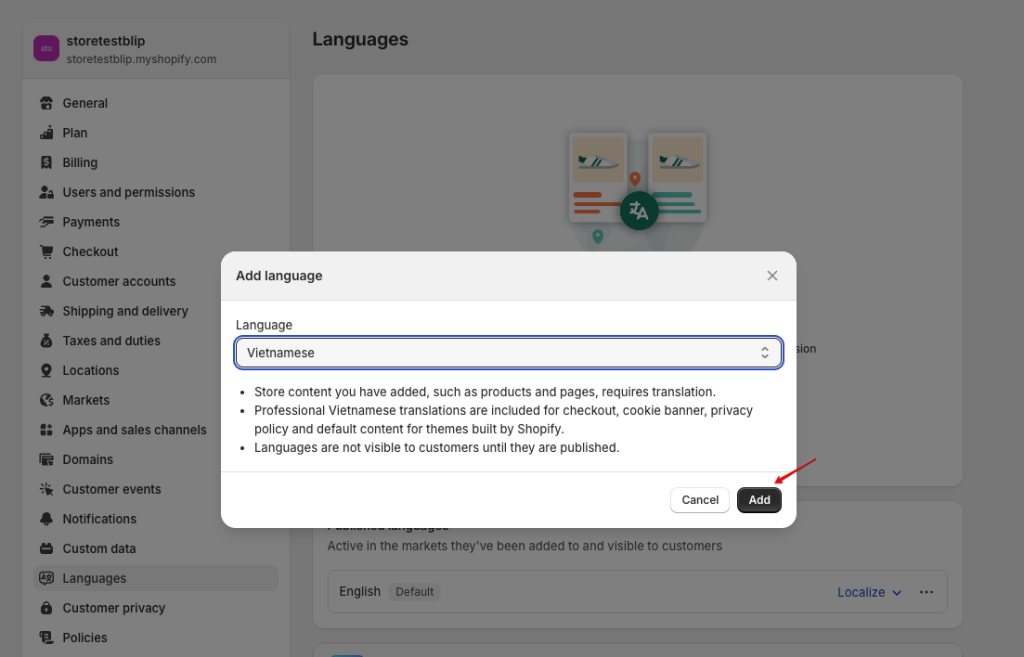
- Confirm
- Click the Add button to add the selected language
- Publish
- Click the Translate button or the three-dot icon (…), and then select Publish.
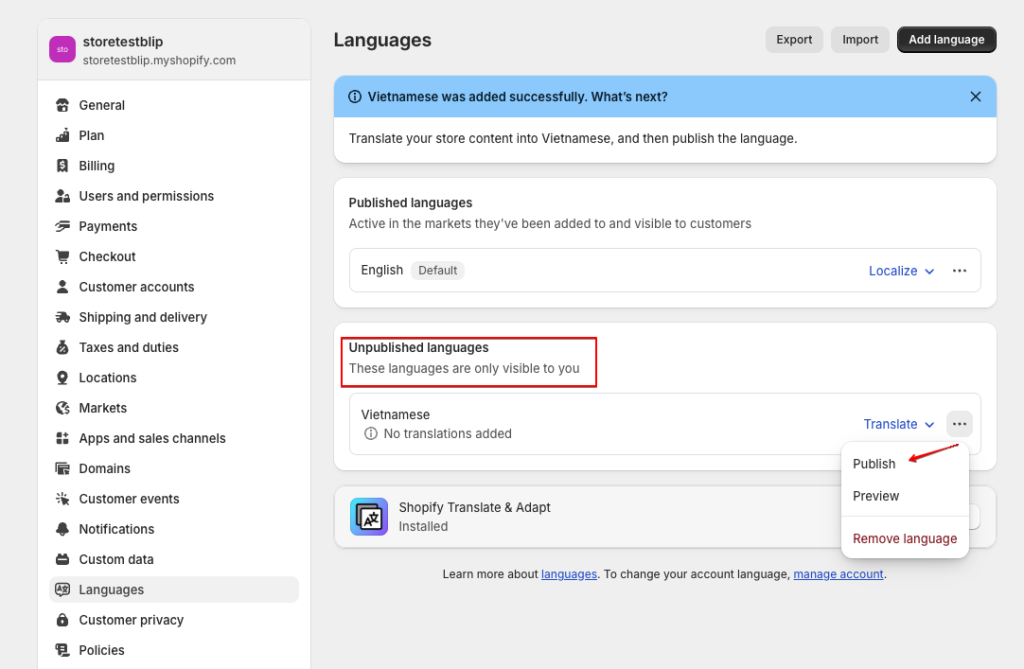
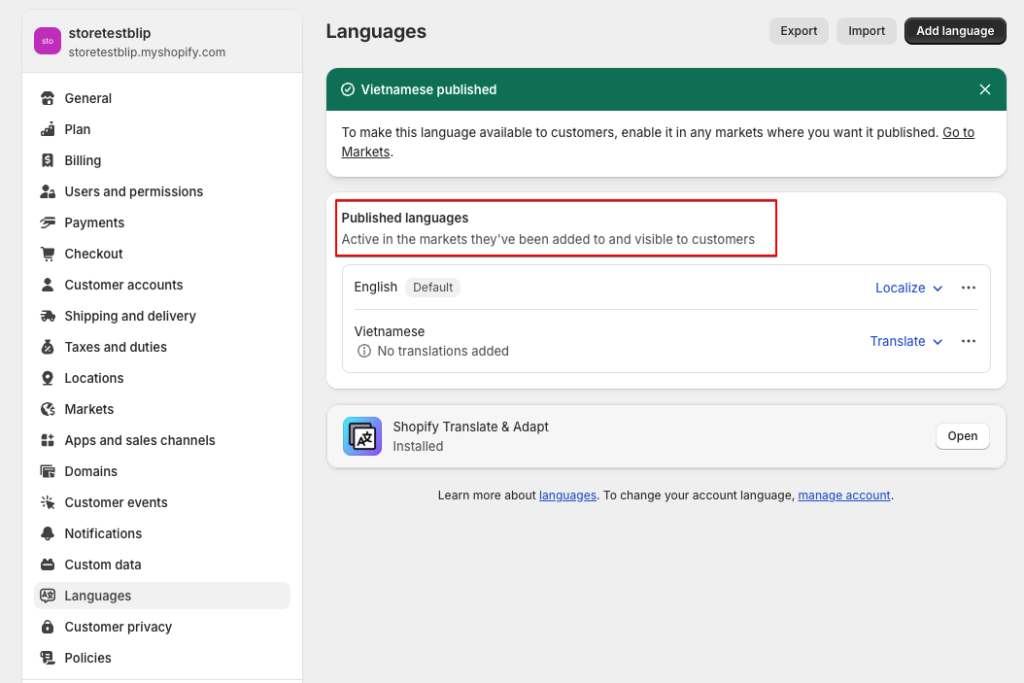
- Once you click Publish, the language will move to the Published languages section. At this point, the language is live and available for you to use.
Step 3: Set translation
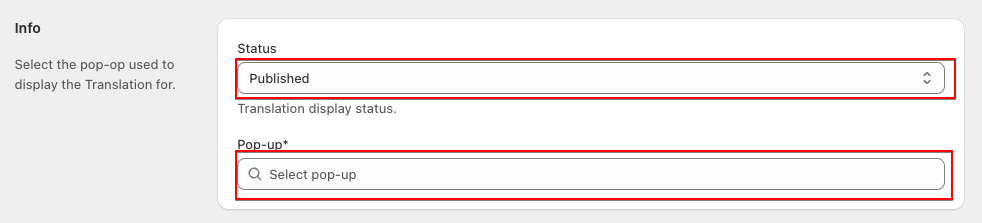
- Info
This section allows you to select the pop-up used to display the translation.
- Status
- For example: “Published”
- Set the translation display status in the provided field.
- Pop-up
- For example: “Age Verification Pop-up 1”
- Select the appropriate pop-up from the dropdown list to apply the translation.

- Text customization
Adjust the main heading and sub-heading texts displayed in the verification form.
- Heading text
- For example: “WELCOME TO SHOP”
- Input your custom heading text in the provided field for translation.
- Sub-heading text
- For example: “You must be at least 18 to visit this site.”
- Enter your desired sub-heading translation.

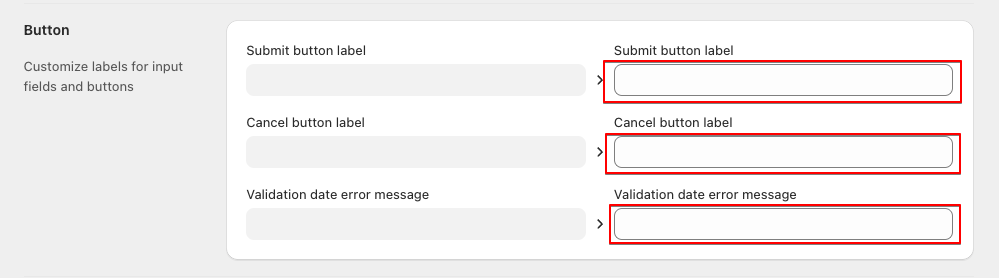
- Button customization
Customize the labels for button and error messages in this section.
- Submit button label
- For example: “OK”
- Add the translated text for the submit button.
- Cancel button label
- For example: “CANCEL”
- Input the translation for the cancel button.
- Validation date error message
- Add the translated error message text for invalid date entries.
- Label customization
Modify the labels for months as needed to suit your language preferences.
- Month label
- For example: “January”
- Enter the translated month name for your language. Use the + Add button to include translations for other months.

